DIY Sand Dressage Ring (Arena)

Part of the fun of being a do-it-yourself-er is enjoying the end result.  For years I’ve just used a grass ring but with now having a trainer to help bring Pete along in his dressage, a proper ring with good footing was needed.

I had planned on hiring out this whole process, but after calling 5-6 different contractors, they were all busy helping the folks along Lake Ontario due to massive beach erosion and flooding.  It’s officially been the wettest spring on record. Which is good for me actually.  It’ll tell me where I need to work on drainage and what kind of base to put in since I’ll never see it this wet again.

Step 1

Using a measuring wheel and flags I walked off and marked the ring.  I did this step 3-4 times to verify my measurements.  You know the saying measure twice, cut once.  Same rule applies when you’re about to rip up a 20 x 40 Meter ring! FYI 20 x 40 meters comes out to 65 x 131 ft. I walked off 70 x 140 ft figuring room for fencing later on and area to store mounting block and cavaletties.
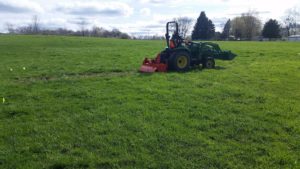
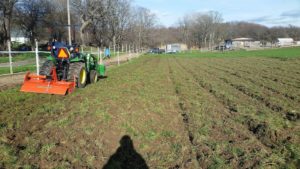
Step 2

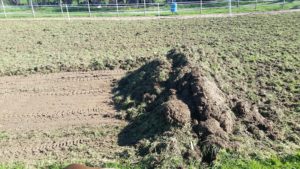
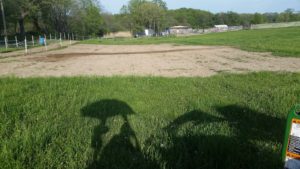
Time to say goodbye to grass.  Thankfully my husband scored a PTO tiller off Craigslist last year.  At the time it was just a good deal and we didn’t have a purpose for it.  Well it sure came in handy for removing the sod.  After that was done came the longest part of the project. Removing said sod.  Mother nature continues to pour on us so it took weeks 1 bucket at at time to completely rid the field of grass.
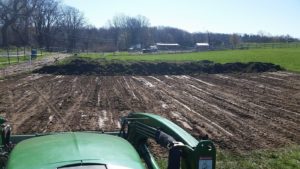
Step 3 

Leveling the area was the next step.  That only took about 2 days a few hours each day after work moving soil around from high areas to low to even things out.  I wasn’t looking for perfection. Just to take care of the lumps, bumps and steep hilly areas.  The end still has a slight ‘U’ shape to it and incline on the long side.   Thankfully, Mother Nature once again decided to deposit about 5″of rain on the area to show me that my base surprisingly drains amazingly well. WOOT, I won’t have to spend $ on drainage or a gravel base. If you’re not so lucky, then you’ll want to make sure you have a way of diverting run off into channels away from your ring and put down at least a 2″ base of #2 crusher run and compact it with a vibrating roller.  This is why I thought I’d have to contract this project out in the first place.

Step 4

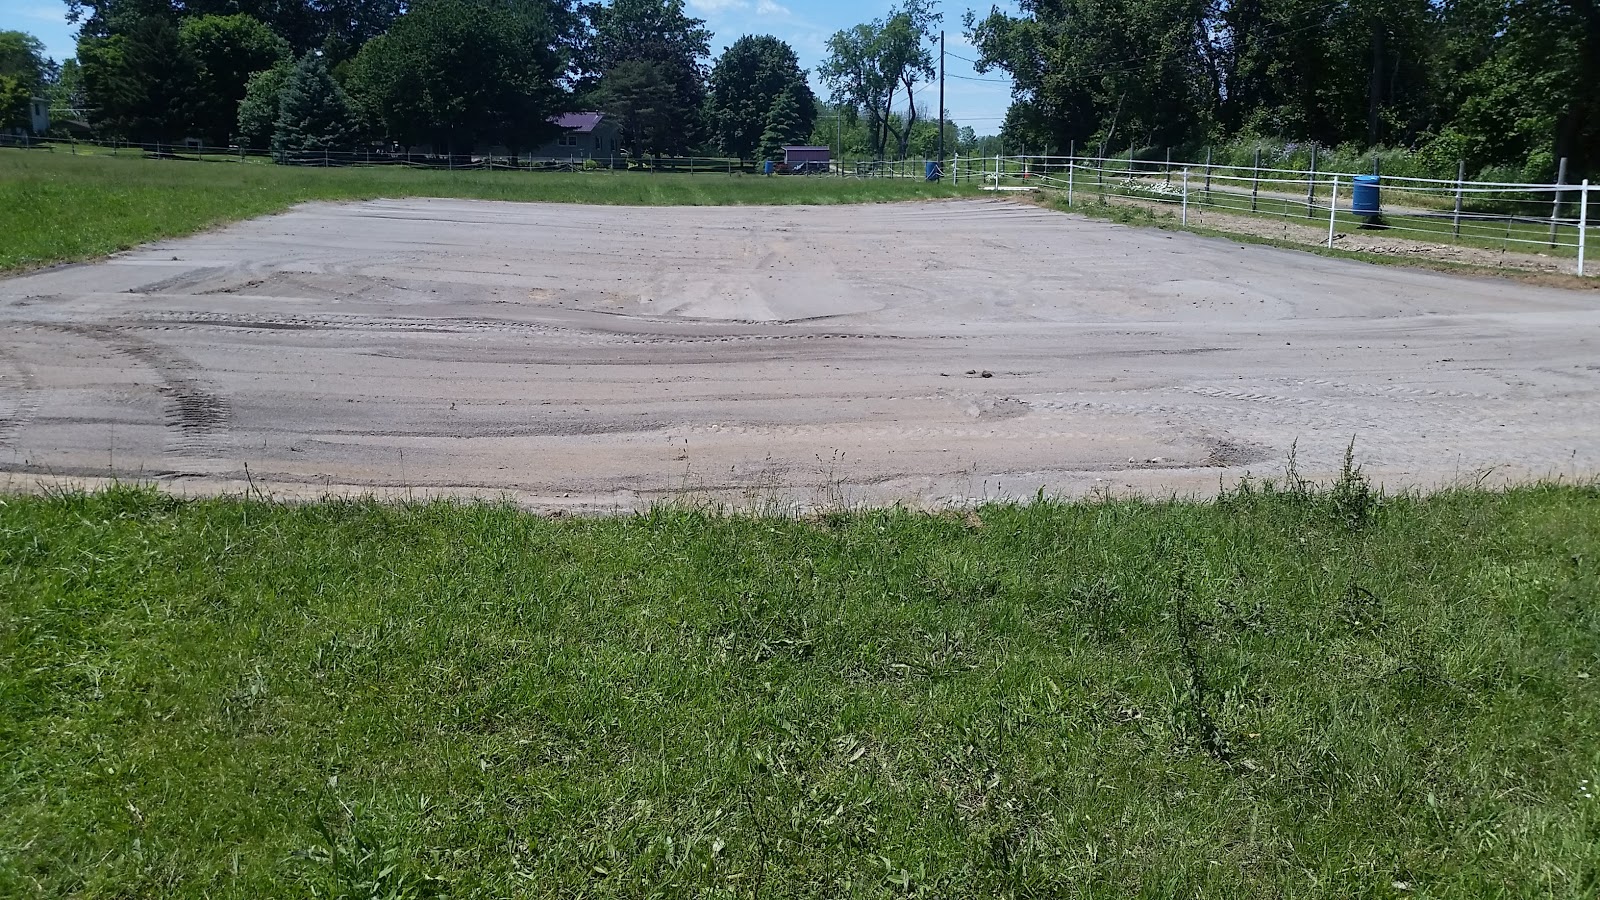
Footing!  At the time of writing this a load of road sand delivered costs about $450.  Since I also needed gravel for my driveway, I could only afford 1 load but, it covered the base about 1/2″ thick.  I think I”ll need at minimum ` more load and possibly 2 to finish the project but this part is easy.  From the time they drop the load of sand in the ring to when I spread it all out with the tractor only took about 90 minutes.  I dragged the ring a few times and even with 1 load of sand, it still looks good. Just needs a little more for cushioning.  This type of sand is good for a 3 season ring.

Step 5

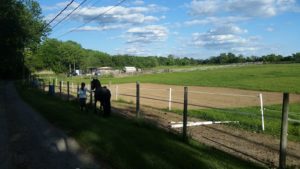
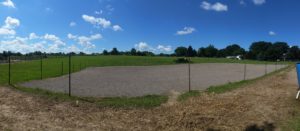
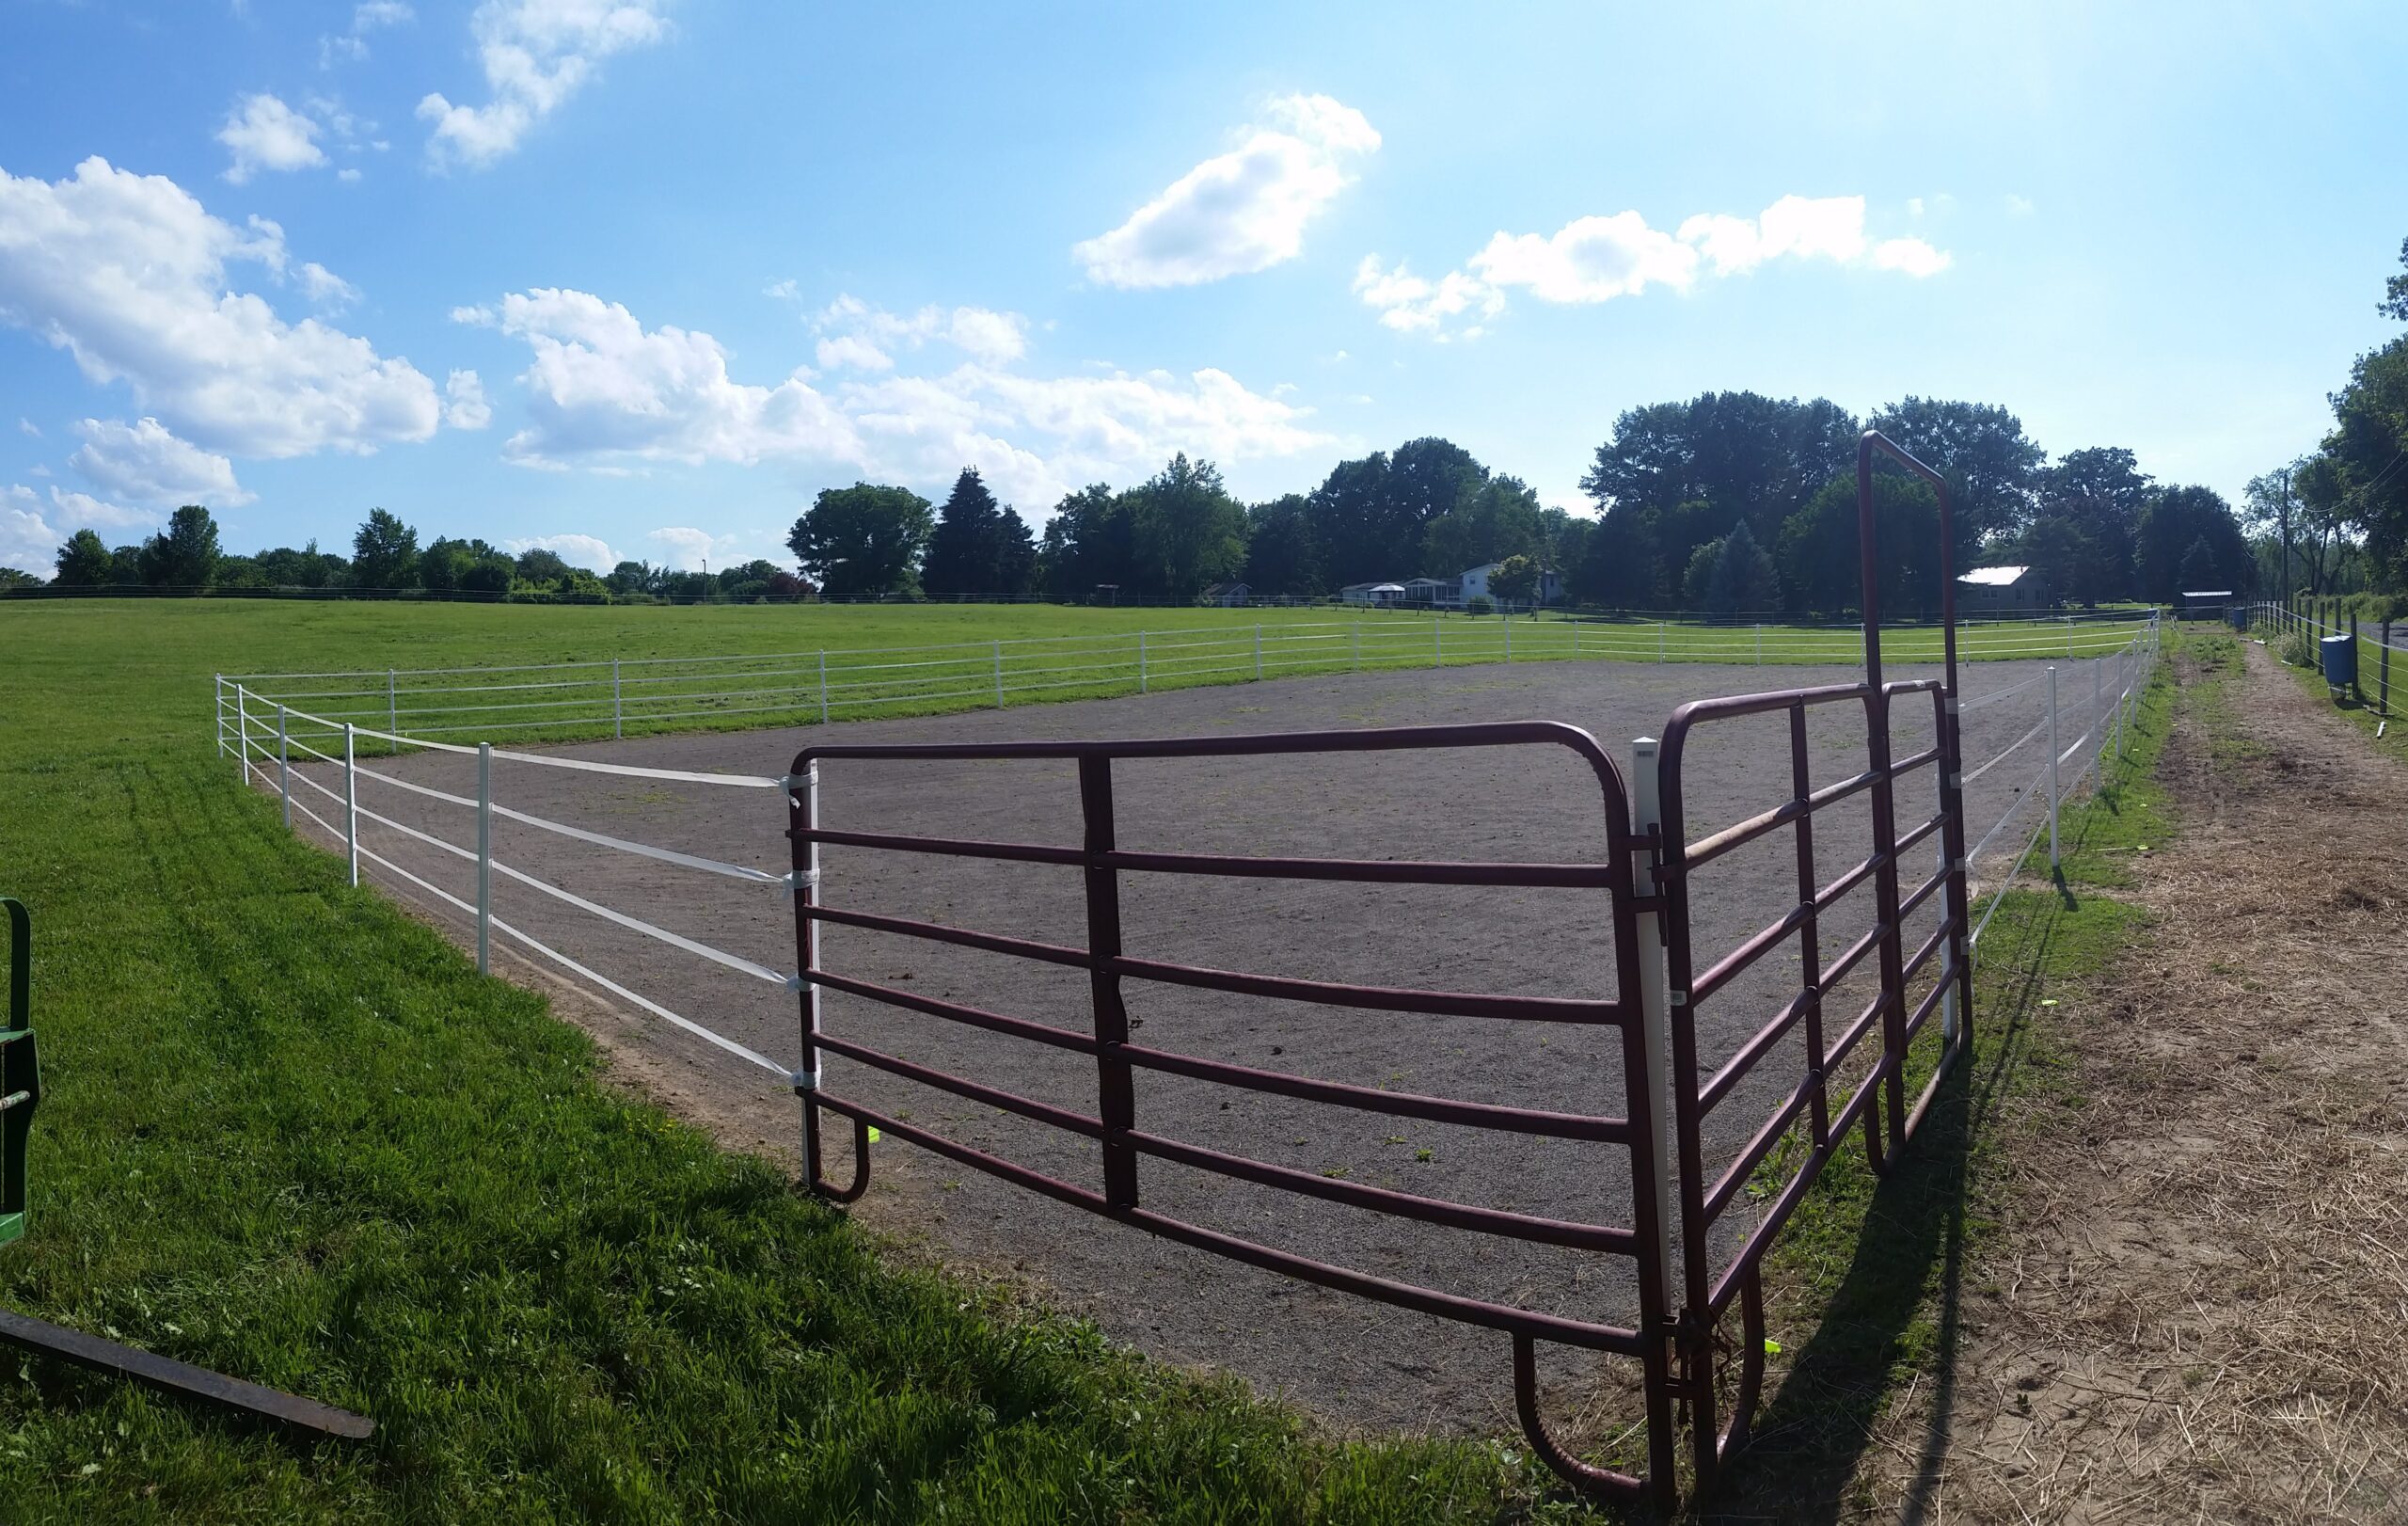
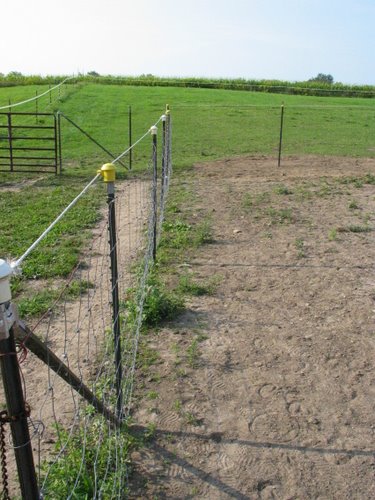
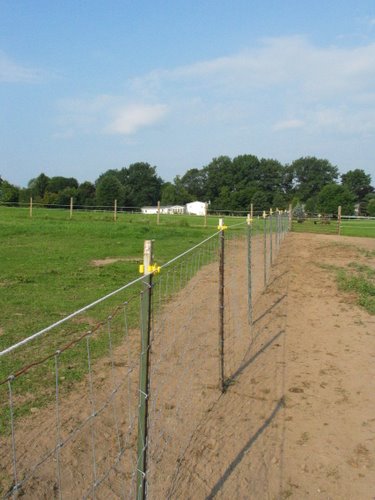
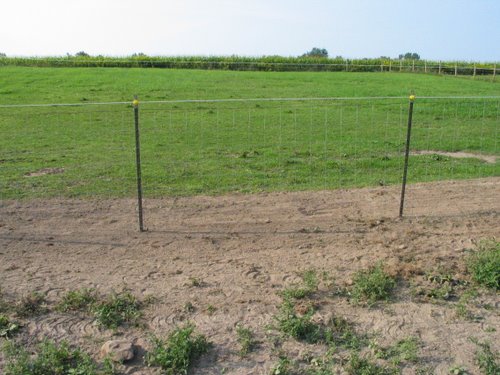
Fencing was the last thing to add.  I called around and got a quote for $4,000 to put a fence around my arena. Ummm… I can’t even afford another load of sand right now thanks to hay season, so that was out of the budget. Goal, fence for under $500.  Actual  cost $458!   I had JUST enough T-posts in the barn for the 32 needed to get around the ring as well as the 10′ panels and gate that I’d use for easy access for humans, horses and tractors.  All that I needed was to make it pretty, and safe. In comes Safe-Fence products.  They make a nice vinyl t-post sleeve that fit over the post, sturdy insulators and a nicer electric tape product than Tractor Supply.  I opted for 4 strands for a few reason. #1 it looks pretty, #2 more of a visual barrier to foals and yearlings who tend to bounce off fences, and #3 It was on sale and I could get (2) 1350′ rolls for almost half price.  It’s a little over 400′ around the fence so 2 rolls was perfect fit. FYI finished dimension are 69 x 137 feet.  Guess there was some shrinkage 🙂

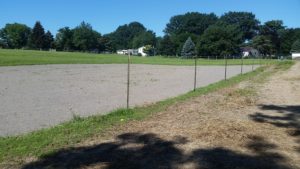
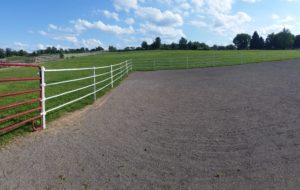
Finished product in the last photos.  I’m very pleased with how things went.  The only change I wish I could have done is use wooden posts in the corners. But, if I was going to bother putting the auger on the tractor for 4 silly posts I might as well have done all wood posts. That part is a 2 man job and I’m only 1 person so…..t-posts and sleeves it was.  And it sure looks good if I do say so myself. At this moment is is NOT electric. Though I might opt to put some juice on it if horses that are turned out don’t leave it alone. Of course electric would be turned off when using the ring.

I can’t wait to start using this arena.  Finally someplace I can train without the distraction of lush tasty grass under foot.

Products I used to make this
T-Post – https://amzn.to/2Dpwgao
T-Post Sleeve – https://amzn.to/2Dpwgao
Insulators – https://amzn.to/2Dpwgao
Electric Fence Tape – https://amzn.to/2PkneQA

Simple Round Bale Feeder

FeederDemo

For those of you who feed round bale hay know, the hardest part is keeping the bale dry so it doesn’t mold before the animals have time to finish eating it.   Rain and warm air can destroy a bale in as little as 24 hours!   This simple round bale hay feeder is not only inexpensive to build but will help contain the hay and keep it dry too.

Feeder will hold a standard 4×4 round bale

Supply List

– (4) 4x4x8 (PT)
– (3) 2x6x12 (PT)
– (1) 2x6x8 (PT)
– (7) 2x4x8 (dimensional lumber)
– 5lbs deck crews
– (2) Ondura Roof Panels (many colors available)
– (1) box Ondura roofing nails (matching color with rubber washer)

Pre cuts!

  • Cut 1 foot off (2) of the 4x4x8
  • Cut the 2x6x12 in half (be sure to measure first from both ends as they probably aren’t exactly 12′ long
  • Cut the 2x6x8 to match the length of the 2x6x12 cuts
  • Cut off 4 inches off (5) of the 2x4x8’s  (mark a line 10 inches across the board on both sides)
  • Cut (2) 2x4x8 to 1″ shorter than the length of the Ondura Roofing

Assembly Side 1 (measure lots to make sure this side is even!)

  • Place an 8ft 4×4 and a 7ft 4×4 6ft apart
  • Draw a line 3 inches from the bottom and 3 feet from the bottom of both 4×4
  • Screw a 2x6x6 so at the 3 inch mark and another at the 3ft mark (below the mark not above it)
  • Screw the 2x4x8 you cut the length of the roofing so that it is even between the cut ends of the 4×4’s

Assembly Side 2

  • This goes faster.  Flip your finished side over so the 2×6’s are on the ground. 
  • Lay the new 4×4’s on top of the old ones and the 2×6’s  and 2×4 to match the bottom.  (See photo)Feeder_1

Assembly Side 3&4

  • Stand up Side 2 have a human or your Jaw Horse hold it
  • Stand up Side 1 have a human or a Jaw Horse hold it
  • Screw in the upper 2x6x6.  Use 1 screw on side 2 first then another on side 2 that way you can adjust things before screwing it down.  (FYI I’m using a minimum of 4 screws at each point!!!)
  • Screw in the bottom 2x6x6 in the front and the back
  • Feeder1
    Feeder2Feeder3

Roof Assembly

  • Screw in the 5 2×4’s at even distances across the 2×4’s screwed to the 4×4’s
  • Lay out your Ondura roofing across the top
    • If you don’t have long arms put one roofing panel on at a time so you can nail it down from both sides
  • Nail at the crest of the wave NOT the valley.  Nailing a hole in the valley will just cause water to leak through! Make sure your nails are straight when nailing or you can rip the Ondura.  If they are straight, they nail VERY easily.
  • Feeder5

Tada! You’re done.  This model is meant to be used in line with a fence.  The open back allows you to drive a bale in and drop it off without having to go into the fence!  Brilliant!  The reason why the bottom boards are 3″ off the ground is so the unit will sink in during “mud” season to help hold it in place from moving.

Feeder4


*** Help keep my website up and running.  Click on our sponsor link!  It doesn’t cost you anything and gives me about $0.20 to help pay for creating this content and keeping this website up and running!

Creating a Pasture or Paddock Paradise

The concept of a Paddock Paradise is the brain child of Jaime Jackson who wrote a wonderful book on it.  (buy book here).   The general idea of a paddock paradise is to create an environment for your horse that as closely mimics their natural habitat allowing them to travel distance and obstacles throughout the day instead of standing in a stall or munching on lush pasture.

The paddock or pasture is engineered such that a track or lane is formed around the outside perimeter and when possible includes natural obstacles such as creek crossings, hills, down trees, shade trees and more.  Having a track around the pasture area allows the horses to move from point A to point B taking the longest route possible especially if things a horse wants are spread out within the track.  For example: Hay may be at one point in the track but shelter is at another point, water at another and minerals at even another position.  Your equine friend now has to get moving if they want something instead of just shuffling from one corner of the stall to another or one. 

If you want to learn more about giving your horses a more stimulating and natural environment check out these
Paddock Paradise References:
http://www.paddockparadise.com
http://paddockparadise.wetpaint.com/

Since I have been slowing taking down old fencing and putting up new perimeter fencing I have recently gotten out the graph paper and have been engineering my own paddock paradise (pp) for my small herd.

A little about my set up:

Acreage: 11 total but a little over 3 acres for horse use
Horses: 3 total – 2 mare, 1 gelding
Perimeter Fence: Wood Posts w/Electric Tape top and 3 electric braid rope under that
Mud Paddock: Enclosed with field fence with water/minerals and shelter.  Horses are locked full time in here spring and fall so they do not damage the 3 acre field.

Paddock Paradise Changes:

Track Fence: Step in fiberglass posts with Tape on top and 1 strand of braided rope under
Track: Track will be 12’ wide on the long sides and 20+ feet wide in corners to allow for resting/feeding stations
Pastures: Having a track will allow me to easily create (3) 1 acre rotational pastures with different entrance points for each yet keep my single point for water/mineral and shelter.

Dutch Hollow Acres Pasture Paddock Paradise


 Why am I making these changes?

–       I really wanted to create rotational grazing spaces but didn’t want to have the extra work of having to halter/lead each horse to the new pasture which also meant having to haul water to each of those pastures.  I also would have to be conscious that there would be no shelter in the rotational parts which would make me watch the weather even more.

–       In spring/fall when the ground is wet and muddy my horses are stuck in the mud paddock and stand still for almost a month or more before the ground freezes or dries enough to turn them out.  The track can be used year round and keep them walking by putting hay far away from shelter/water.

–       My horses are FAT! All that green grass with little walking on their part = one fat horse.  If I were to put a GPS on one of them for a day I’d doubt they’d walk more than ¼ of a mile.  Having this setup has proven that horses typically walk 2-7 miles a day on their own vs 1/2 mile or less with traditional paddocks.

–       Simple answer: Cut my work load down while increasing my horse’s!

If you are thinking of doing something similar I highly recommend getting the book.  It helps you a lot in all the planning.  Get out the graph paper and try different layouts for your property and keep in mind that mechanical equipment like trucks, trailers, tractors, mowers have to be able to get from point A to B also.

I’ve also been toying with the idea of doing a similar thing with my alpaca paddocks.  With the lush green grass in WNY I have some overweight alpacas and I’m thinking if I can get them walking more it’ll keep them in a better body score.  If I add areas with stone dust it would also help keep their nails trimmed too!

Again for more information about Paddock Paradise 

http://www.paddockparadise.com
http://paddockparadise.wetpaint.com/

Labor Day 2010 – Too much work

Here we are at another labor day on the farm and another year of projects too big for the weekend.

Project 1 was planned.  One of our alpacas constantly got through the strand fencing and went on walk-about.  So, I decided to rip out all the old fence and install field fencing.  Sounds simple.  Yeah 2 solid days and I’m still not finished. 

Taking out the old fence was no problem.  With the help of a tractor invention removal of the old T-posts was a snap.  Pounding in the new T-posts….. PROBLEM!   We live in the land of drumlins (aka Glacial Poop).  Some areas are soft, loamy and easy to pound posts in.  Other areas might be solid gravel or clay. 

The top line of posts went in easy, about 15-25 pounds per post.  As I turned to go down the hill the soil I was pounding in drastically changed to and evil dry hard clay.  My 20 pounds per post was replaced with 60-100 pounds. Yes I count.  When you are doing nothing but pounding posts, you can’t help but count especially when you do them in sets of 10.  A full day of pounding posts and that’s all I did.  My shoulders screamed at me the first night.

Day 2 and up goes the fence.  It seems like such an easy and fast task but 8 hours of work and I’m still not done.  The fence was rolled out.  Secured on one end and a fence stretcher with 2 come-alongs to the other end the idea is to just tighten, stand up the fence and tie her down.  The steps are not complicated but the time for each is drawn out.  Blah. 

The fence is up and 2 t-post clips are secured to each T-post but there’s many many many more t-post clips to do per post. 

Using Wedge-Loc to brace the end posts.
New alpaca field fence is up!

 ********************************************************************

Project 2 was NOT planned.  The mini job: to dig down and ‘T’ off a water line and put in a new hydrant and power to the new run-in shed for the alpaca boys.  Really this wasn’t supposed to be a big task, the shed is within 15 feet of where the utilities are. 

Problem, as M. dug down and found the water and power he discovered a mess.  The previous owners who ran the utilities 1) didn’t do it to code 2)didn’t put the power in conduit and 3) used indoor plumbing PVC for and outdoor run and it disintegrated when M. found it.

*sigh* so my helper for the fencing now had his own long weekend project digging up the old utilities and having to do them correctly with 2 conduits for power/coax/Ethernet and another line for the water. 

Digging was slow as he could only dig down so far with the backhoe and then hand dig the rest so as not to destroy the power cables. It was bad enough we lost water to the one barn losing power would definitely put a damper on things.

Another fun finding while tackling this project is how thoughtless the folks were who installed initially.  I think their mentality was something like…. “Oh look, hole.  I can throw garbage into that.”  Errrr. 

Well that project is about 2/3rds the way done.  Trench is complete, new conduit is glued together, water pipe in and M. put in proper junction boxes at the house.  He also ran pull string in the conduit to make it easier pulling cables through later.  All that is left is to put in all the elbows, clean out the bottom of the trench, lay all the conduit and pipe and cover the hole back up.

Using the backhoe to dig out the trench. Careful not to hit the live electric lines!
Yup, that's garbage we found in the trench.
New grey utility conduit with back water pipe
New juction boxes, grey conduit on left back water pipe in trench
All this work just because we wanted to get power/water to the alpac barn 15 feet away.

Installing Alpaca Paddock Fence

Like most ranchers I’m sure we spent our Labor Day weekend hard at work.  With a new cria due any week now it was long past due to put in field fence.  The last thing I’d want is for a healthy cria to be born just to sneak under the fence and into the horse paddock!

While I worked on taking down the old and installing the new the girls got to enjoy a temporary graze on my “lawn”.   I used, SunGuard II Fiberglass step in posts, Kencove electric twine and a nice wheel winder to make it easier to handle the twine.  Oh, mental note; when using the winding wheels they are fully insulated so if you don’t use all the 800 feet of twine just keep the rest on the wheel, hand the wheel on a nail or something and electrify the fence!  Saves the hassle of cutting your twine just to want it longer the next time you put up a temp paddock. 

Tractor Supply had a great sale on field fence.   Red Brand Field Fence, some t-post clips, and a few wedge-loc diagonal brace kits and I was ready to go.   We decided to take out the old fence totally, grade out the area to level it off and re pound all the t-posts.  I opted to use t-posts instead of wood because our barn is old and located in a bad spot so some day it’ll have to come down and all the fence will have to be moved again.

I’m very happy with the finished look.  The field fence is 47” high and we topped it off with a strand of hot rope.  This way my nosy horses keep their heads on their side of the fence and feet off of it too.


If any of you moved into an old farm and had to work with what was left over after years of neglect you’ll appreciate the first few photos.