Welcome Back Fiber Arts Friday and Crafty Friday Folks
Sticking with my theme from last week I’ve been researching homemade looms and decided to try one of them out. I picked a simple picture frame loom to start with and though the loom is simple apparently the technique for use is not.
Picture Frame Loom Attempt 1:
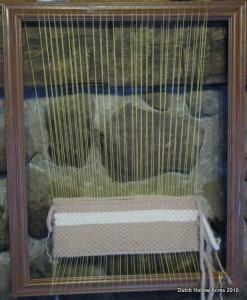
I found an old frame in my basement, knocked out the glass and said goodbye to the ugly hotel art that was in there and got to work. The warp is VERY simple. Take your string/yarn and wrap the loom on the longest side. Wrap as wide as you want your end project to be and space the yarn about ¼” apart, keep tension taught and even.
Weave your fiber of choice over under all the strands. Because there’s a space in your warp thanks to the thickness of the frame one direction of weaving is very fast and the other direction is slow going having to go over/under on the way back.
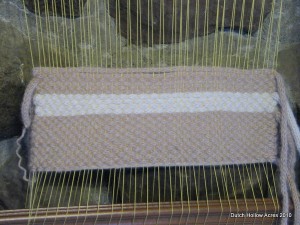
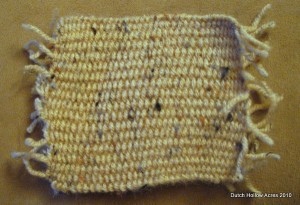
Here’s my work thus far… FAIL. As you can see I started to cinch the ends too tightly and the bottom of my project is wider than the top. ERRR
Picture Frame Loom Attempt 2:
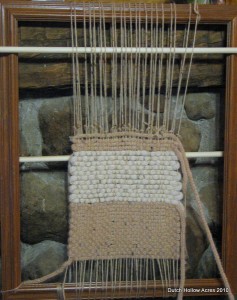
Ok, so I totally ripped apart my project and started again. This time I decided to try using some dowels to speed the process up. 1 Dowel is fed through the center of the warp to keep it open. The 2nd Dowel I put on the bottom and used loops of yarn to attach each top strand to the dowel. That way when I pulled on the dowel all the attached strands would move with it causing a nice little shed row without me having to weave over/under.
Here’s my new attempt. Still a fail in my mind but I’ve gotten better with leaving slack at the edges so they don’t taper in. I was using a fork to pack my rows and apparently I didn’t do that great of a job because they are very loose. Oh well, I’m still learning.
Top Secret Loom Project.
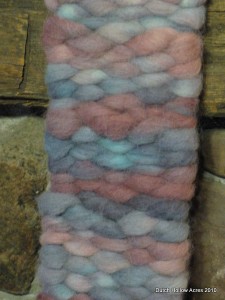
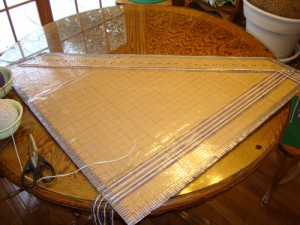
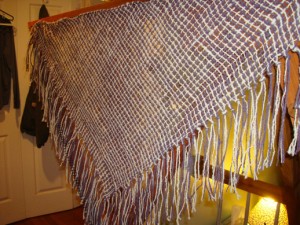
Ok my last loom experiment used a new loom entirely but alas I didn’t have time to document it so I’ll have to leave you wondering how I made this until another post. I’ll give you a hint though… this type of loom is often used to weave raw wool locks. For my mini test project in this photo I chose to use some pin drafted roving (available in our shop of course). I can’t wait to attempt a full scale project on this loom. I’m going to see if I can use raw alpaca, I’m not sure how well it’ll hold together since alpaca doesn’t have the memory or desire to felt quickly like wool. Don’t worry, I plan to document the dickens out of this method since it is rarely used.
Last day to enter the Alpaca Sock Giveaway – Drawing is tomorrow 11/13/10
