7 Spring Farm Chores

Hey there, budding hobby farmers! Winter has finally thawed, and your farm is rubbing its eyes, yawning, and stretching after its long hibernation. As the first buds of spring appear, it’s time to dust off your overalls, grab your trusty pitchfork, and breathe new life into your little slice of paradise. Here’s a fun and witty guide to help you revive your farm and get it ready for the warmer months ahead. Let’s get moo-ving!

  1. Spring Cleaning – The Barn Edition: First things first, it’s time to clean out the cobwebs, literally! Winter can take a toll on your barn and animal shelters. Grab a broom and evict those sneaky spiders. While you’re at it, give the stalls a deep clean, removing any old bedding and disinfecting the space. Remember, a clean barn is a happy barn – and happy barns lead to happy animals!
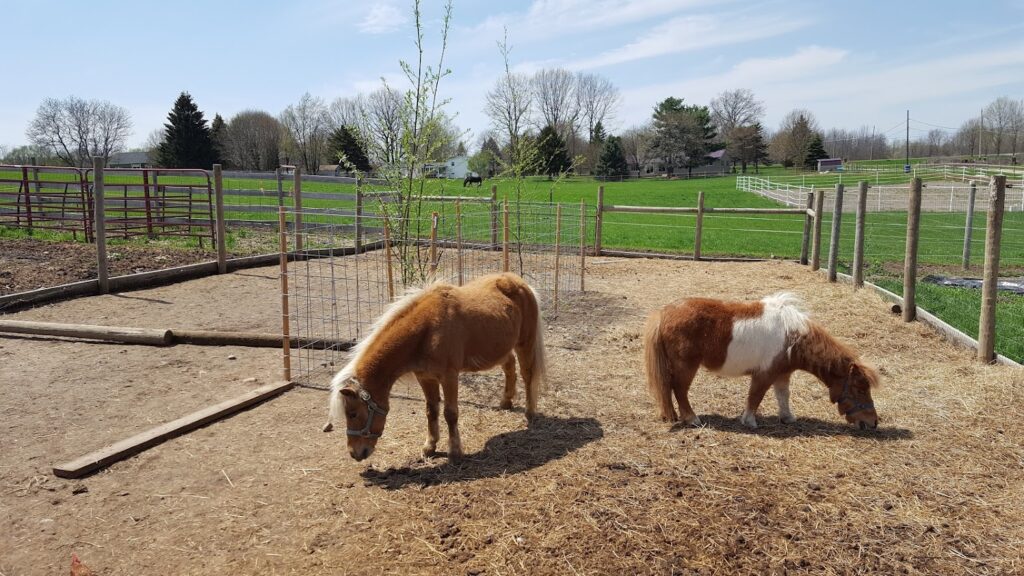
  2. Livestock Spa Day: Your animals have been cooped up all winter, and now they’re ready to strut their stuff in the sunshine. Time for a livestock spa day! Give your animals a good grooming, trim their hooves, and check for any signs of illness or parasites. Then, stand back and watch them bask in the glory of their newfound fluffiness.
  3. Pasture Parade: Now that your animals are looking fabulous, it’s time to get those pastures ready for grazing. Walk the perimeter of your fences, checking for damage and making repairs as needed. Clear any fallen branches or debris, and give the grass a bit of TLC with some fertilizer and overseeding.
  4. Get Growing: It’s time to flex your green thumb! Prepare your garden beds by turning the soil, adding compost, and planting seeds or seedlings. Plan your crops carefully – companion planting can help maximize yields and keep pesky critters at bay. Don’t forget to give your plants a pep talk as you sow. They’ll thank you later with a bountiful harvest!
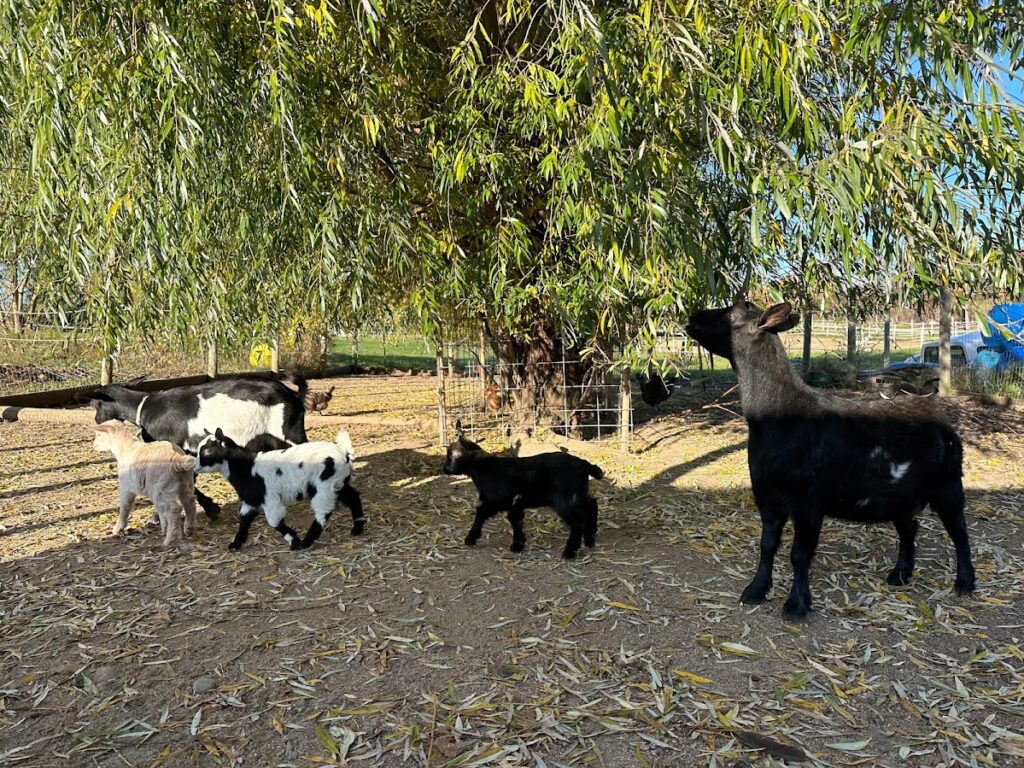
  5. The Great Coop Escape: As the weather warms up so do predators and their hungry young. Check for any signs of predators, reinforce fencing, and provide ample space for your feathered friends to roam out of reach from hungry mouths.
  6. Farm Equipment Tune-Up: Don’t let rusty tools or a sputtering tractor slow you down this season. Give your equipment a thorough inspection and perform any necessary maintenance. If your wheelbarrow has seen better days, it might be time to invest in a new one. Remember, a well-oiled machine is a farmer’s best friend.
  7. Planning and Goal Setting: As you awaken your farm, take a moment to set your goals for the season. Whether it’s raising a new breed of livestock, starting a beehive, or planting an orchard, having a plan will keep you focused and motivated.

With a little elbow grease and a lot of love, your hobby farm will be up and running in no time, ready to flourish throughout the spring and summer months. Embrace the challenges and triumphs that come with hobby farming, and enjoy the fruits (and veggies) of your labor. Now, go on and show that farm who’s boss!

Grow Hybrid Willow from Tree Cuttings

Welcome to the wonderful world of hybrid willow tree propagation! Have you ever wanted to grow your very own willow tree, but didn’t know where to start? Well, you’re in luck! Hybrid willow trees are a popular choice for gardens and landscapes because of their fast grown and edibility for livestock. In this article, we’ll be taking you on a journey to learn how to successfully propagate your own hybrid willow tree through cuttings. So grab your pruning shears, your rooting hormone, and your green thumb, because it’s time to get started!

1yr old Hybrid willow cuttings

Let’s Gather Our Supplies!

  • Willow tree branch: First things first, we need to find a healthy branch from an existing hybrid willow tree. Look for a branch that is firm, flexible, and at least 6 inches long.
  • Pruning shears or a sharp knife: These will come in handy when we make the cut on our branch. Make sure your tool is sharp so you can make a clean cut with ease.
  • Rooting hormone: This is a magical powder that will help encourage root growth on our cutting. It’s like giving your cutting a little extra pep in its step!
  • Containers: You’ll need a home for your cutting, and a container with drainage holes will do the trick. You can use anything from a small pot to a gallon-sized container – the choice is yours!
  • Potting soil: This will provide the perfect environment for our cutting to grow roots and sprout new growth. Choose a well-draining soil that is rich in organic matter.

Now that we have all of our supplies ready, we’re one step closer to growing our very own hybrid willow tree!

Let’s Get Our Hands Dirty: A Step-by-Step Guide

  • Selecting a Branch:
    • deal Branch Characteristics: Look for a branch that is healthy, firm, and at least 6 inches long. A branch that has new growth at the tip is ideal.
    • Time of Year to Cut: The best time to take cuttings from a hybrid willow tree is in the late winter or early spring when the tree is still dormant.
  • Cutting the Branch:
    • Proper Cutting Technique: Use your pruning shears or sharp knife to make a clean cut just below a node (where leaves attach to the stem). Cut at a 45-degree angle to increase the surface area for rooting.
    • Treatment with Rooting Hormone: Dip the cut end of the branch into rooting hormone powder, then tap off any excess.
  • Planting the Cutting:
    • Choosing the Right Container: Fill your container with potting soil and make a hole in the center big enough to accommodate the cutting.
    • Filling the Container with Potting Soil: Make sure the soil is well-moistened before planting.
    • Placing the Cutting in the Soil: Insert the treated end of the cutting into the hole in the soil and gently firm the soil around it.
  • Aftercare:
    • Watering: Keep the soil moist but not waterlogged. Check the soil regularly and water as needed.
    • Light Exposure: Place the container in bright, indirect light. Avoid direct sun, which can cause the cutting to wilt.
    • Monitoring for Growth: Check the cutting regularly for new growth and roots. Once roots have formed, you can transplant the cutting into a larger pot or in the ground.

With these simple steps, you’ll be well on your way to growing a thriving hybrid willow tree from a cutting! Just remember to give it plenty of love and care, and before you know it, you’ll have a beautiful new addition to your garden or landscape.

What To Do When Things Don’t Go According to Plan: A Guide to Troubleshooting

  • Wilting Willow Woes: If your cutting starts to droop and look a little sad, it’s probably because it’s thirsty! Make sure to keep the soil moist, but not waterlogged. You don’t want your cutting to drown, after all.
  • Slow Growth Struggles: If your cutting isn’t showing any signs of new growth or roots, don’t lose hope just yet! Some cuttings can be slow to root, so be patient and keep giving it TLC.
  • Pests and Diseases: Keep an eye out for any pests or diseases that might be affecting your cutting. If you notice any issues, remove any affected leaves and treat promptly.
  • Drought Dilemma: If you live in a dry area, make sure to water your cutting regularly to keep the soil from drying out. The last thing you want is for your cutting to get a case of the dry heaves!

Don’t worry if things don’t go according to plan, it happens to the best of us! Just remember to stay positive, be patient, and give your cutting plenty of love and care. With these tips, you’ll be well on your way to growing a beautiful and thriving hybrid willow tree from a cutting!

Same Willow Cuttings 4 years later and over 20 ft tall.

And there you have it, folks! With these simple steps and a little bit of TLC, you’ll be well on your way to growing your very own hybrid willow tree from a cutting. Just remember to keep it watered, provide plenty of light, and keep an eye out for any pests or diseases that might pop up. And most importantly, don’t take yourself too seriously! Gardening is supposed to be a fun and relaxing hobby, so don’t stress if things don’t go according to plan. Just enjoy the journey and watch your cutting grow and flourish. Happy planting, everyone!