Day 1 – Measuring
The most difficult part of installing a fence making sure you get a straight line. We have a flag lot so and our house is in the center of the property so we drive down ¼ mile of our fence line every day. Another 400 feet of the fence backs up to the backyard of our neighbors and it’s something they will have to view every single day. This means installing a fence with a very straight line that is esthetically pleasing for both us and the neighbors.
Time to get out the survey map! Chances are when you bought your property a survey was done and you should have gotten a map that gives you measurements and locations to all the survey markers. We found our markers and punted a T-Post in at each one so it would be easy to find. If the T-post was at the property line of the neighbors we were nice enough to put a 2”x2” vinyl sleeve and painted it hunter green so it wouldn’t be ugly. Some of our neighbors even used those posts to mount bird houses on which the blue birds just love.
We wanted a lane all the way around our pastures so we measured out from the T-posts our lane distance of 25’ and put in a stake. We did the same for the top line to find the top corner posts.
This sounds like easy work but took a full day! The fun part of this story, while we were drilling the holes the following day one of our neighbors came over for some composted manure and we got to talking about the fence. Comes to find out he’s a professional surveyor! :o) Next time we need a 400’ straight line we know who to call!
Day 2 – Marking the posts
With all the measuring from the previous day we finally could mark where our posts were going to go. Plan first; a 6 strand high tensile fence needs bracing at the corners. Spacing for the corner posts is 8 feet and then we decided to have a 10’ spacing for the posts. With high tensile fencing you can go as far as 30’ between posts down the line if on flat ground. We are hilly and want to have our top line be HorseRail which requires a 10’ space between posts.
Once all the flags where in where we plan on putting the posts we took out our guide line. If you use a post pounder you can keep the guide line in but we use a post hole digger so it needs to be removed.
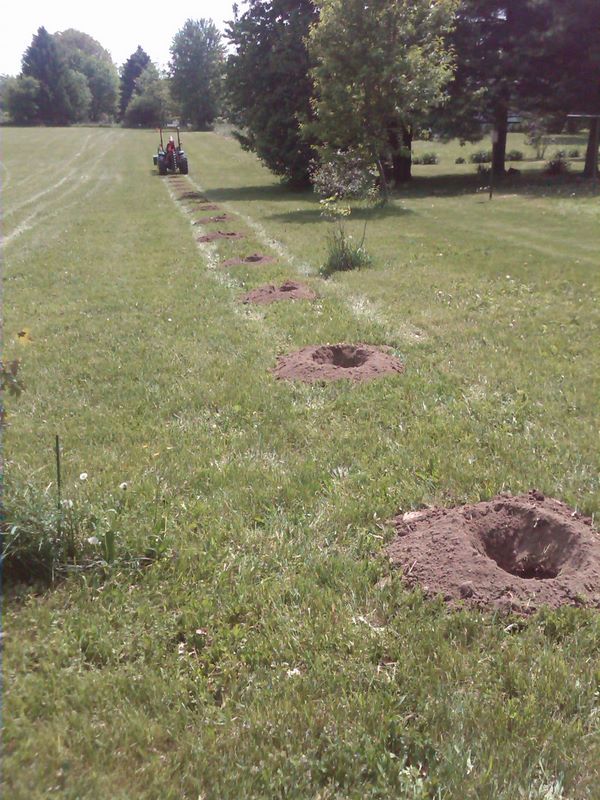
From this point on the project moves pretty quick. Drill the hole, drop a post, tamp it in and repeat. WNY is in a bit of a drought but there’s rain coming so we decided to drill all the hole, put the posts in them so no one would get hurt falling in a 4’ hole and will tamp them in after the rain comes. Note: corners need to be cemented in! You’re talking about 200psi per line when under tension so be sure to make the corners right the first time. High tensile will not show rust for 50 years and with pressure treated posts this fence should last you your whole life with minimal maintenance.
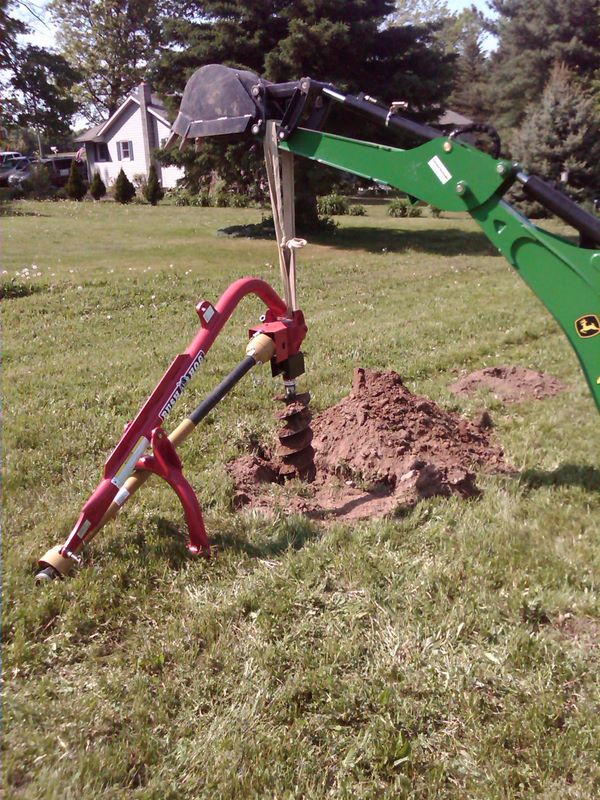
Post Hole Digging Fun: Half way through our line we hit a pretty big rock and the auger got stuck. Usually this isn’t overly exciting. We put a pipe wrench on the auger and back turn it out of the hole. This time it didn’t work. Push or Pull that auger wasn’t budging. Out came the backhoe! We had to dig a hole next to it and yank out the poor PHD. Good news, no damage and we finished the line by the end of the day like planned.

