Hay Season (Part 2)

We have all our hay!  This year we found a new hay farmer just a few miles from our ranch.  He has a beautiful 8 acres of timothy/alfalfa mix that was just planted last year and this was the first cut on the field.  What beautiful hay. Young, green, leafy and so sweet smelling.  He got 398 bales (30-40lbs) off the field and be bought them all.

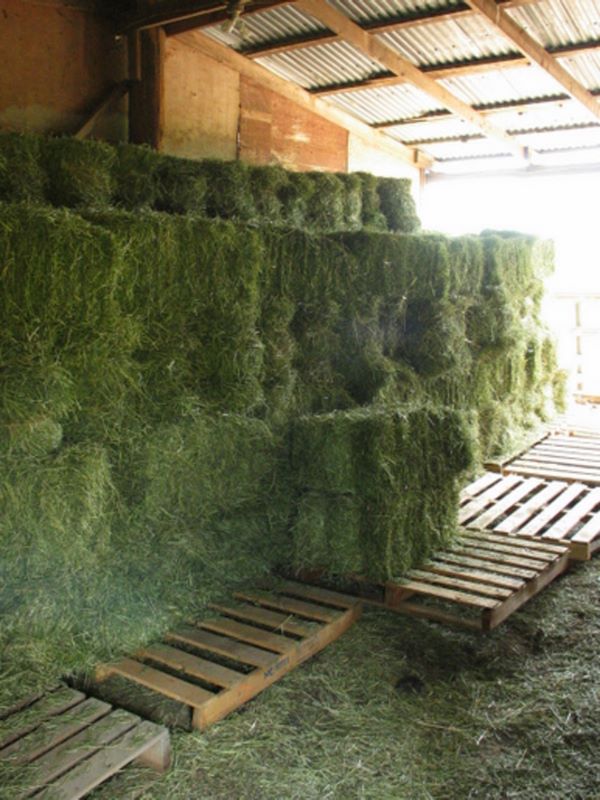
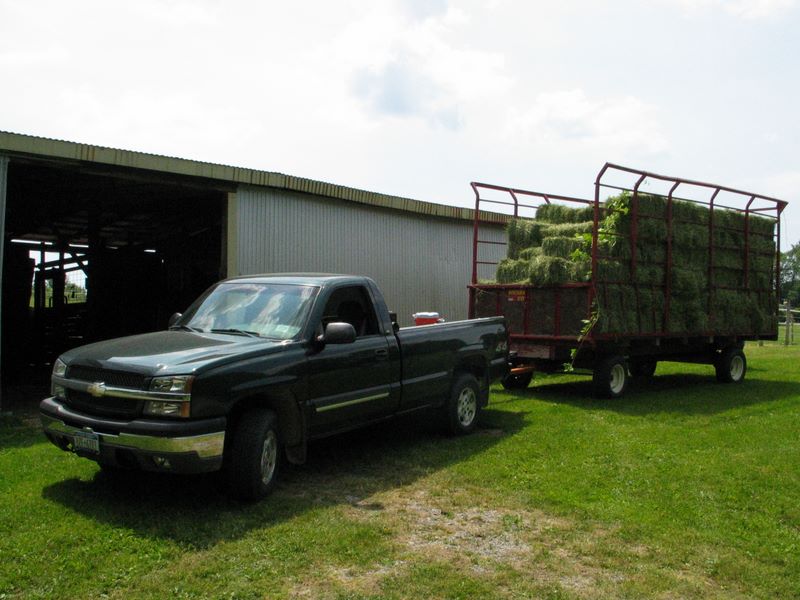
The farmer had 2 wagons so we’d take one as they kicked up bales to the 2nd.  It’s a slow go on hilly roads with full wagon.   But 3 trips and some fancy packing all the hay is in without so much as an inch to spare!  The bales are stacked within foot of the ceiling and I can barely make it through the door. Thankfully my barn breathes very well and there is good air circulation up and over and under the stack. 


1st hay wagon


1st wagon unloaded, 157 bales in the barn.  There was no point in taking a completed photo because it was just a dark wall of hay.  We managed to fit 398 bales in there. 

 Note: Timothy hay is not recommended for alpacas.  It tends to be stalky if cut too late and can give alpacas ulsers.  This hayis for the horses however it is young and leafy enough that the alpaces do like it too.  I will be purchasing  a 2nd cut orchard grass mix for the alpaca’s main diet.

Hay Season (Part 1)

June in Western New York means hay season! This is year 3 of me running our own farm and each year we’re getting “better” at predicting our hay needs and storage space.  This year I think we’ll finally have gotten our act together.

Storage:
In years past my storage space was limited to one 11×11 foot stall.  Amazingly I could squeeze 100 bales into that little space.  OH yeah, you’re looking at the queen of stacking hay.  This year we have plenty of space.  The center of our barn is 18’x35’ and I have been using it as a run-in for the horses.  Before then It was filled with junk and clutter accumulated from previous owners. 

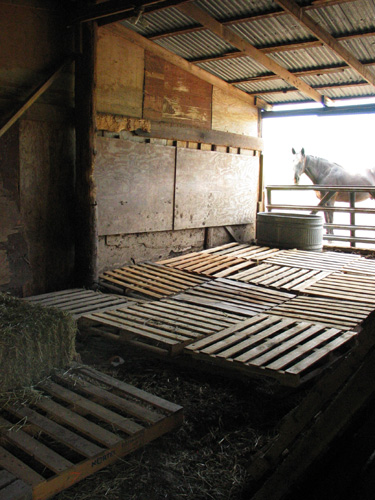
The horses have now been evicted, the floor raked and pallets are laid out.  I’m ready for hay!  I’m hoping to fit 3-400 bales in here with room for a walking path and air flow.

Here’s a photo of the new space and Goliath looking in wondering why he can’t play in there any more.

Backhoe Gardening

It’s Memorial Day weekend and hopefully we don’t get any more frost warnings so it’s time to plant the garden.  Hmm, garden, that requires a tilled area in which to plant. This presents a problem because we don’t own a tiller but we do have a wide variety of implements for our tractor that should accomplish the task of removing sod and breaking up the soil.

So what to use? Bucket on the tractor to skim off soil and dirt box to break up the first few inches?  Nope, did that last year, that’s old news.  2 bottom plow? Can’t too close to the fence.

Ah ha! Backhoe!  Dig a 4’ hole, dump sod in hole and fill back in.  Yup, that sounds a heck of a lot more fun!


Installing a fence (Part 1)

Day 1 – Measuring

The most difficult part of installing a fence making sure you get a straight line.  We have a flag lot so and our house is in the center of the property so we drive down ¼ mile of our fence line every day.  Another 400 feet of the fence backs up to the backyard of our neighbors and it’s something they will have to view every single day.  This means installing a fence with a very straight line that is esthetically pleasing for both us and the neighbors. 

Time to get out the survey map!  Chances are when you bought your property a survey was done and you should have gotten a map that gives you measurements and locations to all the survey markers.  We found our markers and punted a T-Post in at each one so it would be easy to find.  If the T-post was at the property line of the neighbors we were nice enough to put a 2”x2” vinyl sleeve and painted it hunter green so it wouldn’t be ugly.  Some of our neighbors even used those posts to mount bird houses on which the blue birds just love.  

We wanted a lane all the way around our pastures so we measured out from the T-posts our lane distance of 25’ and put in a stake.  We did the same for the top line to find the top corner posts.

This sounds like easy work but took a full day! The fun part of this story, while we were drilling the holes the following day one of our neighbors came over for some composted manure and we got to talking about the fence.  Comes to find out he’s a professional surveyor!  :o) Next time we need a 400’ straight line we know who to call!

Day 2 – Marking the posts

With all the measuring from the previous day we finally could mark where our posts were going to go.  Plan first; a 6 strand high tensile fence needs bracing at the corners. Spacing for the corner posts is 8 feet and then we decided to have a 10’ spacing for the posts.  With high tensile fencing you can go as far as 30’ between posts down the line if on flat ground. We are hilly and want to have our top line be HorseRail which requires a 10’ space between posts.

Once all the flags where in where we plan on putting the posts we took out our guide line.  If you use a post pounder you can keep the guide line in but we use a post hole digger so it needs to be removed.

From this point on the project moves pretty quick. Drill the hole, drop a post, tamp it in and repeat.  WNY is in a bit of a drought but there’s rain coming so we decided to drill all the hole, put the posts in them so no one would get hurt falling in a 4’ hole and will tamp them in after the rain comes. Note: corners need to be cemented in! You’re talking about 200psi per line when under tension so be sure to make the corners right the first time.  High tensile will not show rust for 50 years and with pressure treated posts this fence should last you your whole life with minimal maintenance.
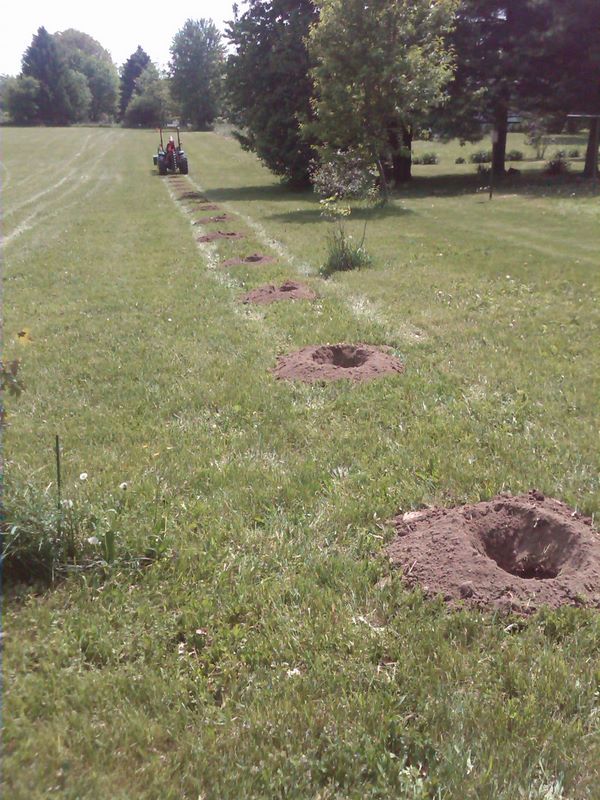
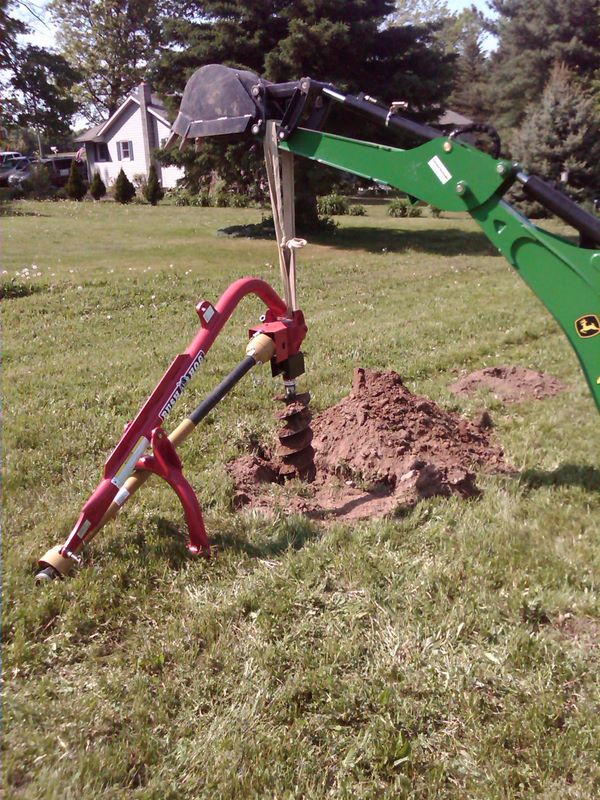
Post Hole Digging Fun: Half way through our line we hit a pretty big rock and the auger got stuck.  Usually this isn’t overly exciting.  We put a pipe wrench on the auger and back turn it out of the hole. This time it didn’t work.  Push or Pull that auger wasn’t budging. Out came the backhoe! We had to dig a hole next to it and yank out the poor PHD.  Good news, no damage and we finished the line by the end of the day like planned.
Munge, Mange and Mites

One morning I noticed a crust on one of my female’s nose. It was pretty muddy so I figured it was caked on mud more than anything else.  A couple of days later I looked at her nose again.  Nope, it wasn’t mud but a really thick scab.  Thinking maybe she got a cut I put anti bacterial ointment on it and turned her back out.

A day or 2 later I looked at her again. Now both sides of her nose had crusty scabs.  Now I know it wasn’t a cut and was something else so I read up on skin problems in alpacas.

She ended up fitting the bill for Munge: Nasal Nyperkeratoxic Dermatitis and is common in alpacas under the age of 2.  My girl Bella was just over 2 years.  Causes for Munge aren’t really known nor are they sure which virus causes it.

What to look for: 
Munge usually is found around the nose and mouth.  The skin thickens up to a hard crust.  The crust will split and either bleed or some puss will leak out. 

Treatment:
Treatment is surprisingly simple and for my case very effective.
The Munge Cocktail as I prepared it:
               
60cc DMSO
                10cc Ivermectin
               
100ml Gentamicin Piglet – No prescription required when using this strength

WEAR GLOVES!!!! DMSO allows the Ivermec and Gentamicin to penetrate skin. So when you mix this solution up and any time you handle it wear gloves.

Shake up the concoction thoroughly before each application. I soak a cotton ball in it and squeeze out the access. Catch your alpaca and dab the cotton ball on the affected area.  Repeat every other day.

On off days use M-T-G.  Shake thoroughly before each use.  Again I use gloves and a cotton ball and dab it on the affected area.  M-T-G is an oil product with Zinc.  It softens up the scabs, assists in any zinc deficiencies and promotes hair growth.


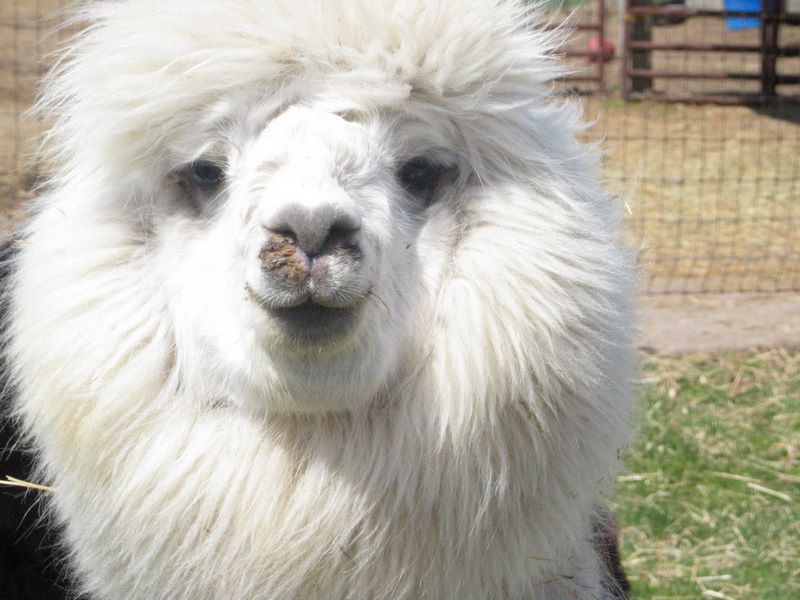
Alpaca with munge: 1 week of treatment


Same alpaca after 2 weeks of treatment. Scabs are gone and skin is pink
and clear. Hair has not yet started to regrow.